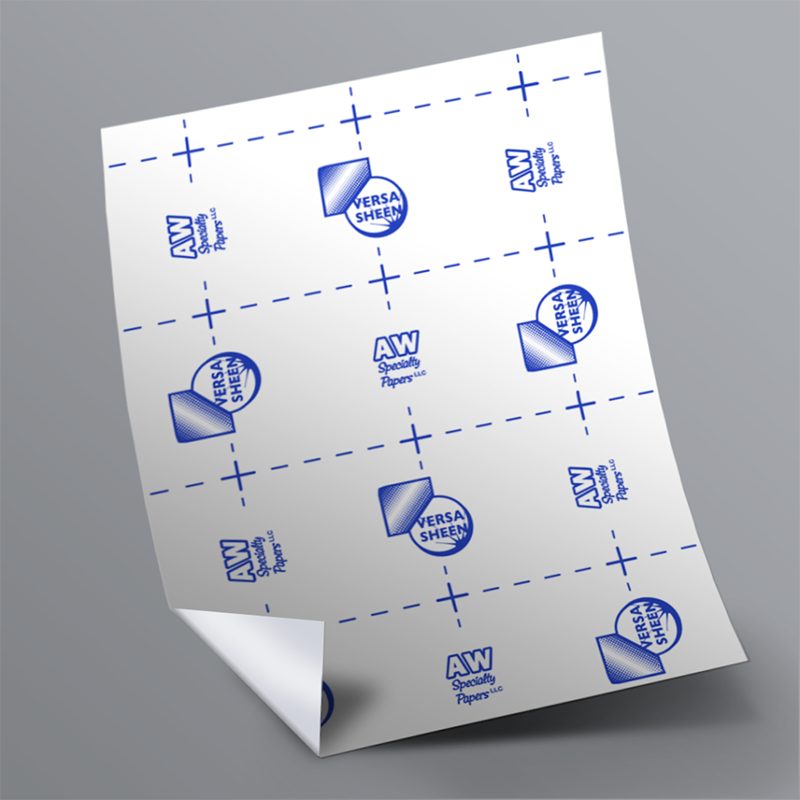
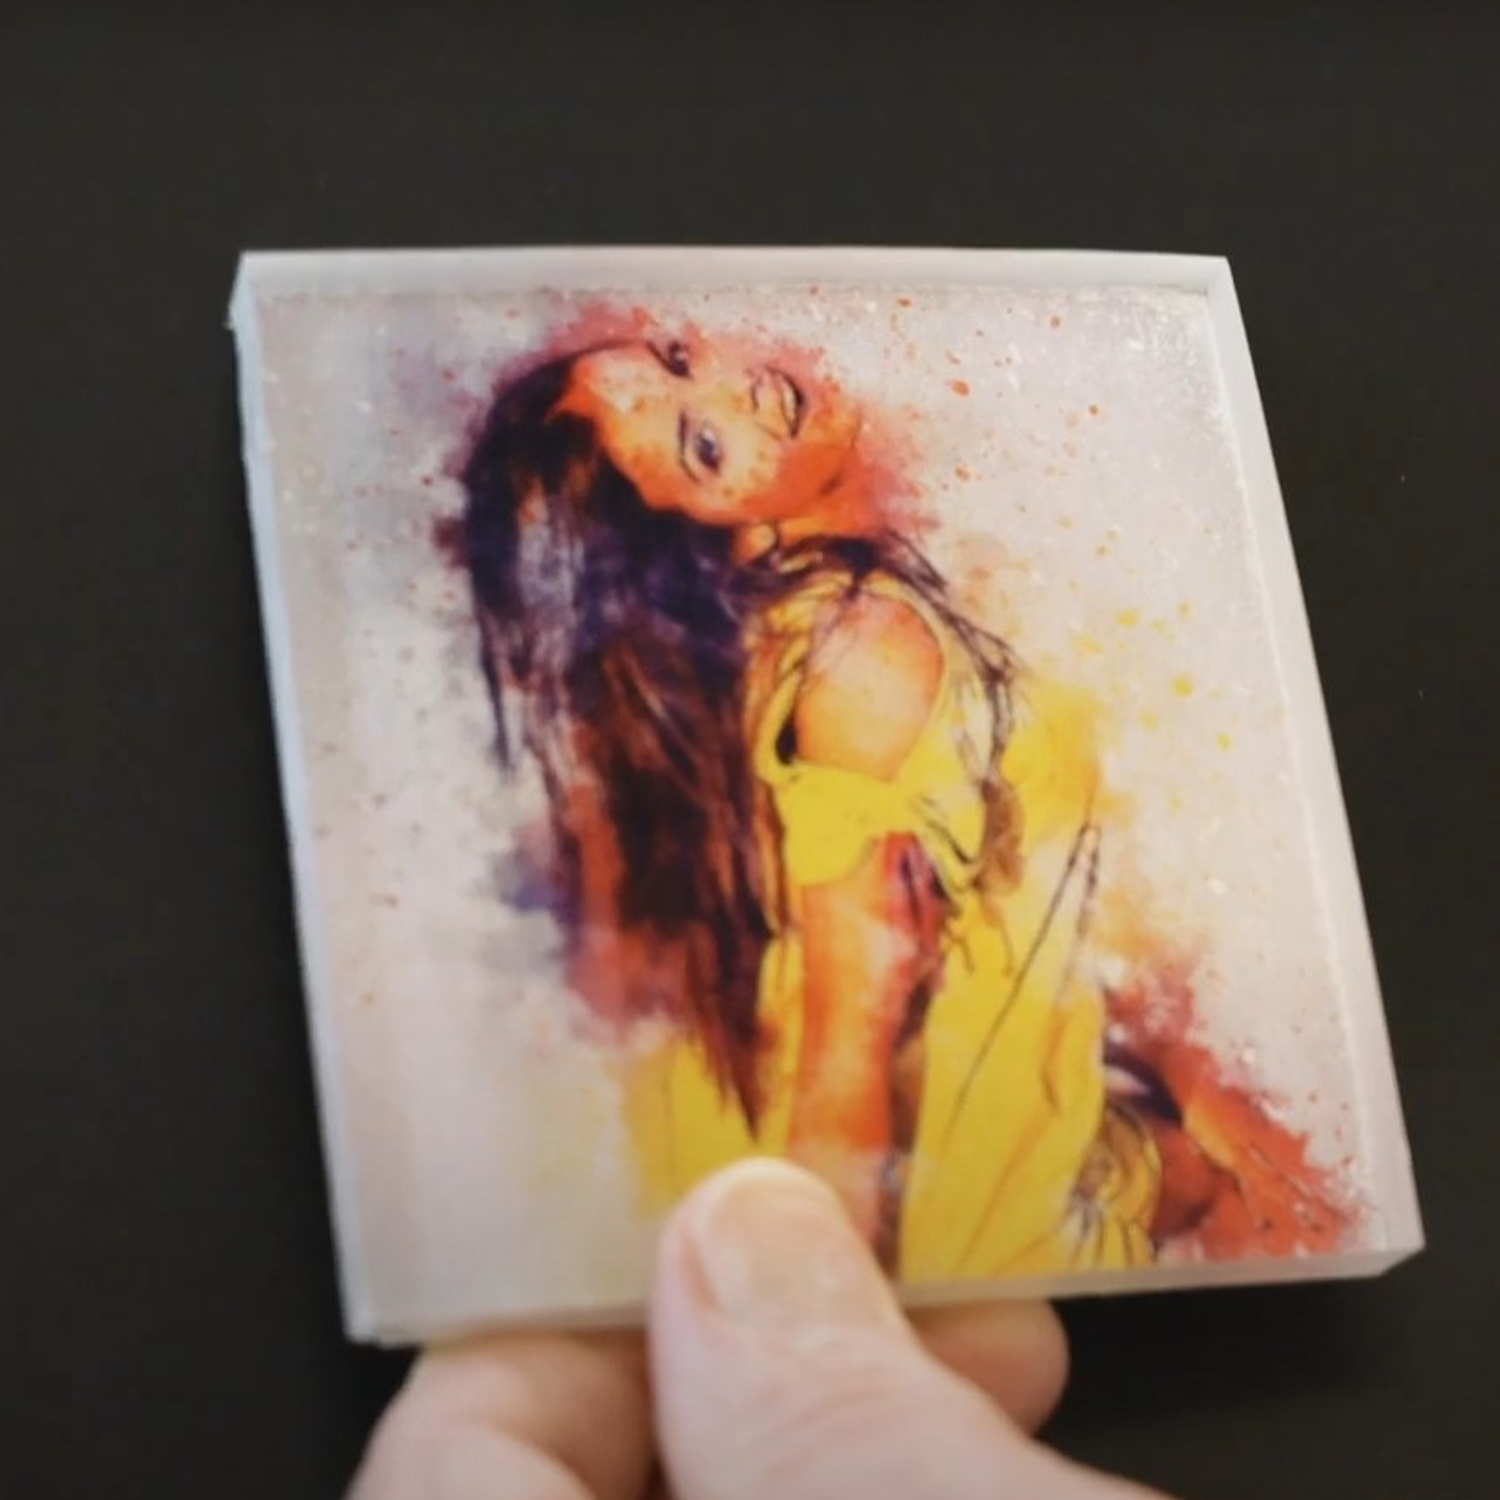
Plaques, labels and keychains are some of the things that you can do by decorating an acrylic sheet using a laser printable sheet and making it is quite easy! Most people struggle with this but we’re going to teach you how we adorn acrylic with color laser printer. We have some samples to work with and we call it cast acrylic sheet. There are two different kinds: extruded and cast. Cast sheets are better to use for heat press decorating because it holds its shape better. We’re also using the AW Papers Versa Sheen, a laser printable sheet, as our media.
Here’s the full video for the article below
Printing Using Versa Sheen
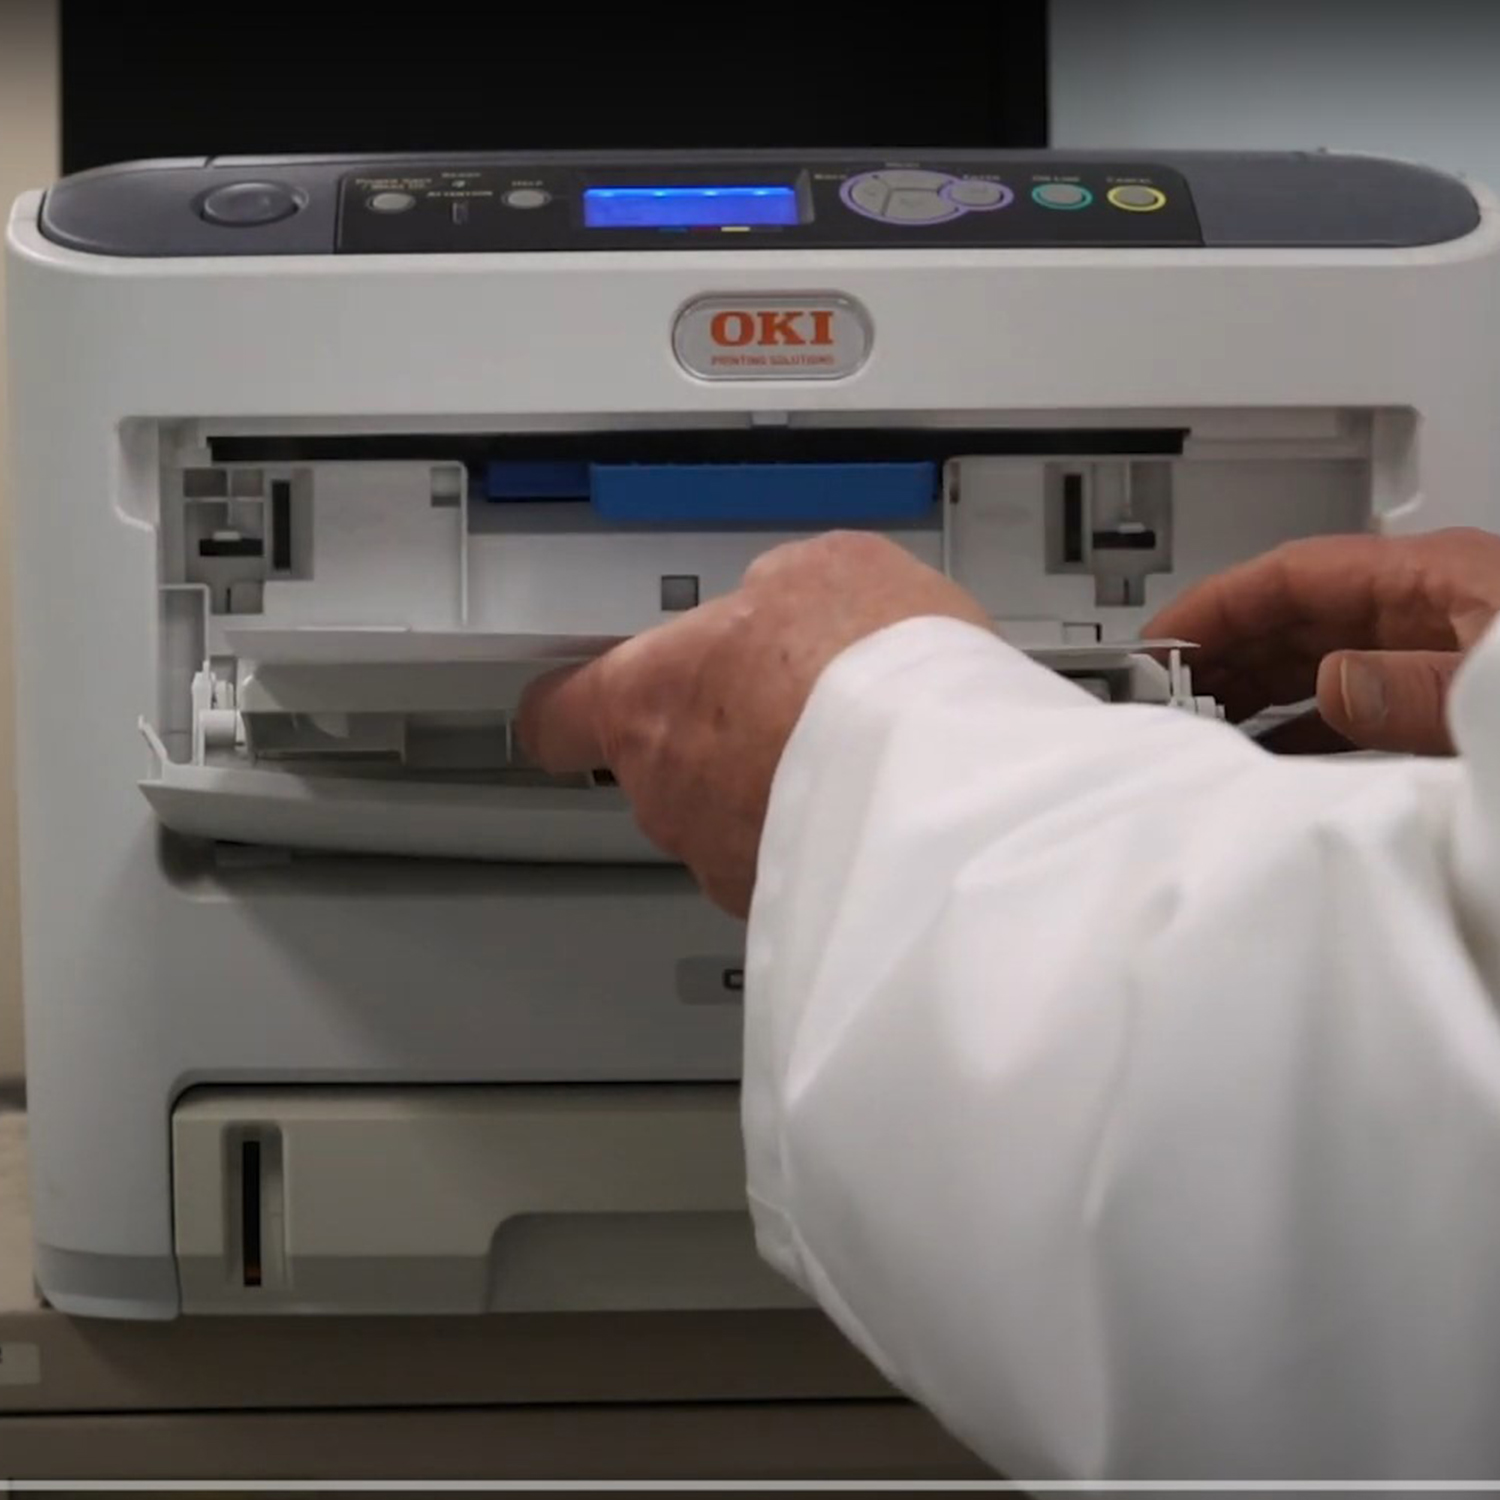
We’re printing these on a CMYK laser printer. So we have our image ready on a transparent background but since we’re printing to a CMYK printer, it really doesn’t matter because white and transparent are going to be the same. We select the print option. We’re printing to the Oki 610. In print settings, very important are these two things: one is we want to use the multipurpose tray or manual feed tray, typically for most of the printers that you’ll be working with, and then the second one is to go in and be sure that you select the proper media type. All these printer drivers will have some type of media type setting, and you want to pick one that falls into these categories, either labels, glossy, or films. So labels, glossy, or films are typically the media type that will work best for the Versa Sheen media. In this particular case, we’re using labels.
Continue reading below…
Preparing the Plexiglass
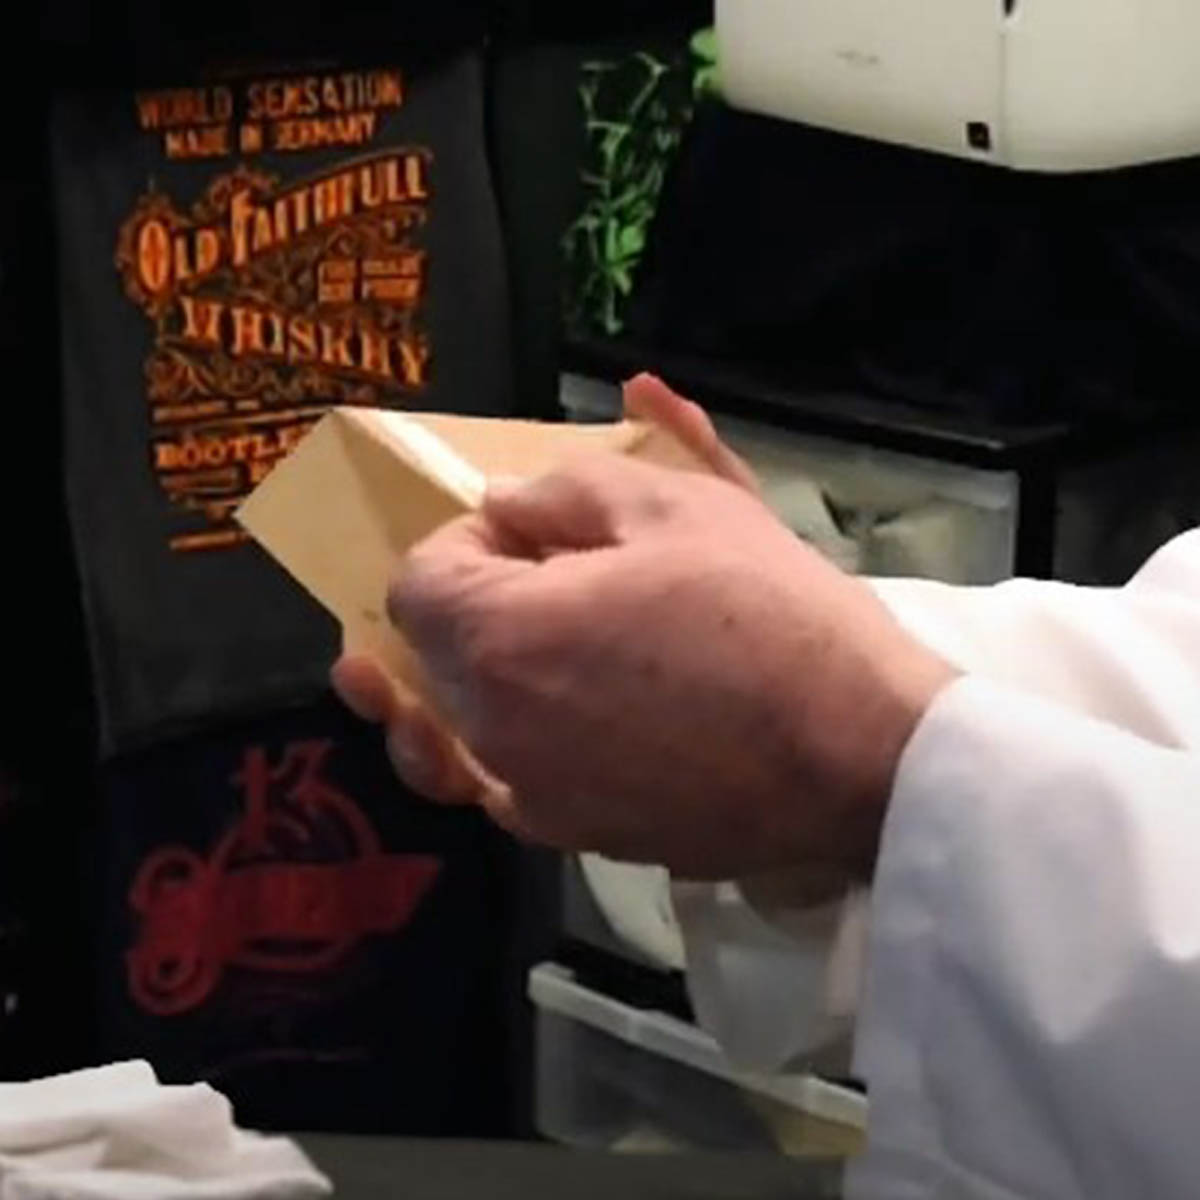
Acrylic comes with masking pieces already applied to it and we want to peel those off. There’s always a little bit of an adhesive that might get left on the plexiglass. So to clean that off, we want to take alcohol and cotton balls, and clean off the plexiglass. Once we clean that off, take a soft rag, buff away any residue or pieces that may be left on. So we’ve got a nice, clear, shiny surface to work with. I’ve got some thermal tape that we’re going to use to hold the design in place.
The beautiful thing about working with plexiglass is the ability to see exactly where you want things to go. I’ll just take my thermal tape and stick it so it holds the position. We’re ready to press this. We have our heat press set to around 310 degrees.
Pressing Using a Heat Press
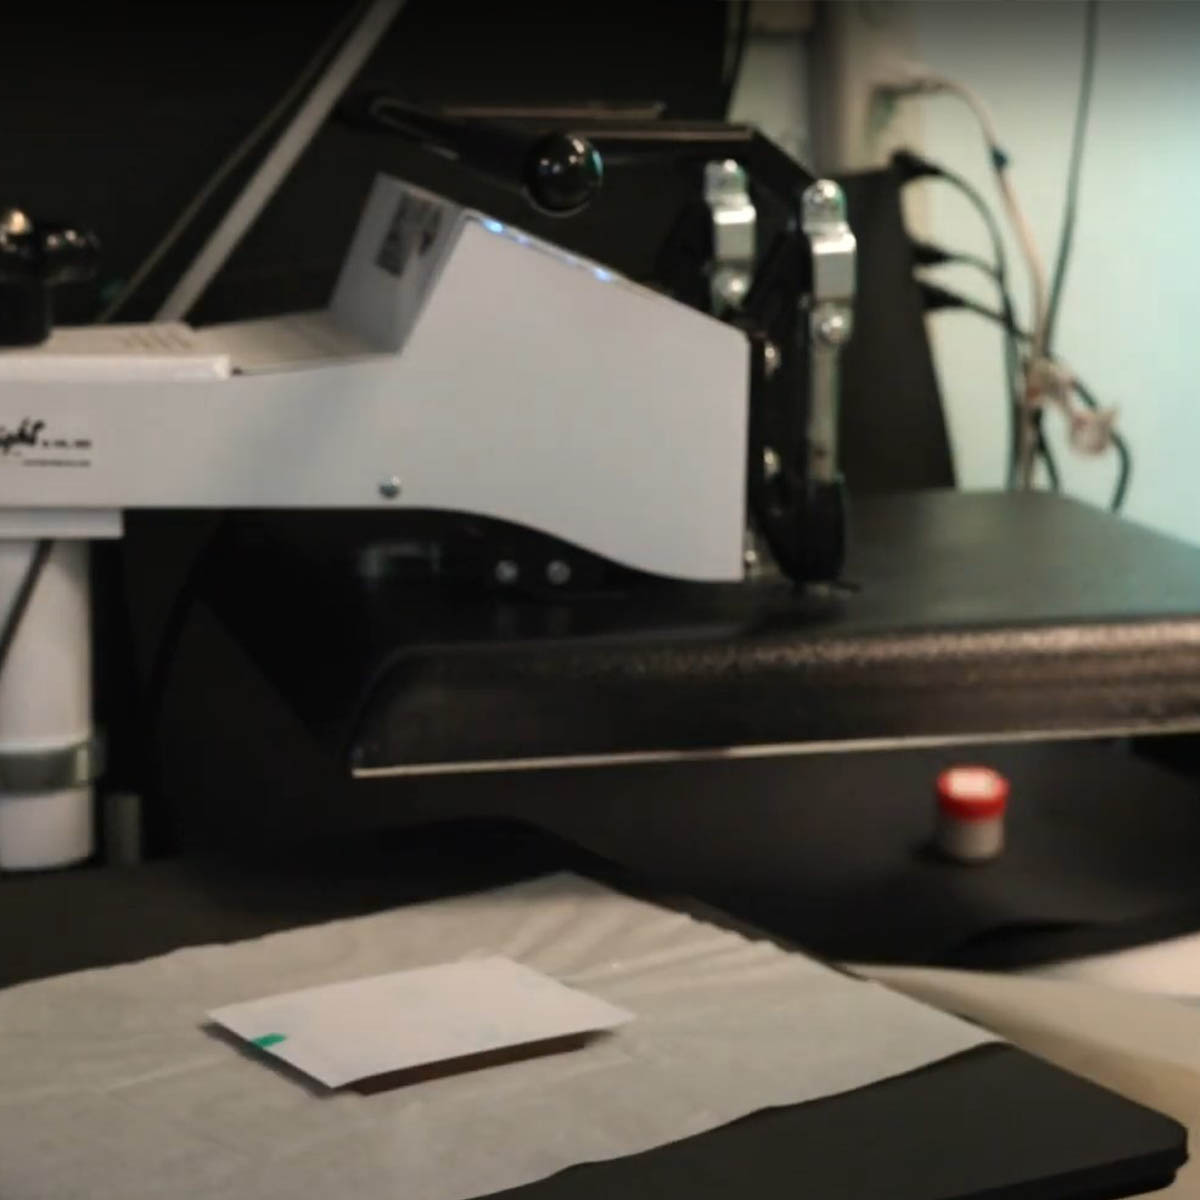
The thinner the plexiglass, the lower down that you want to go and the amount of time that we’re pressing. We want to position this in the center of the heat press. We want to cover it with a piece of parchment. And then we want to drape the silicone pressing pad over the top. You can get these at any home goods store and about an 8th of an inch to a quarter of an inch is all the thickness that is needed. Now we want to set our pressure so that when we’re pressing on this thickness that it gives us high pressure but not too high.
We’re pressing for a full two minutes and then we’ll release this. It’s nice to have the edges off to the side so we can lift it up without running the risk of burning ourselves.
We just needed to cool a little bit and so now we are ready to remove the tape.
Applying White Background
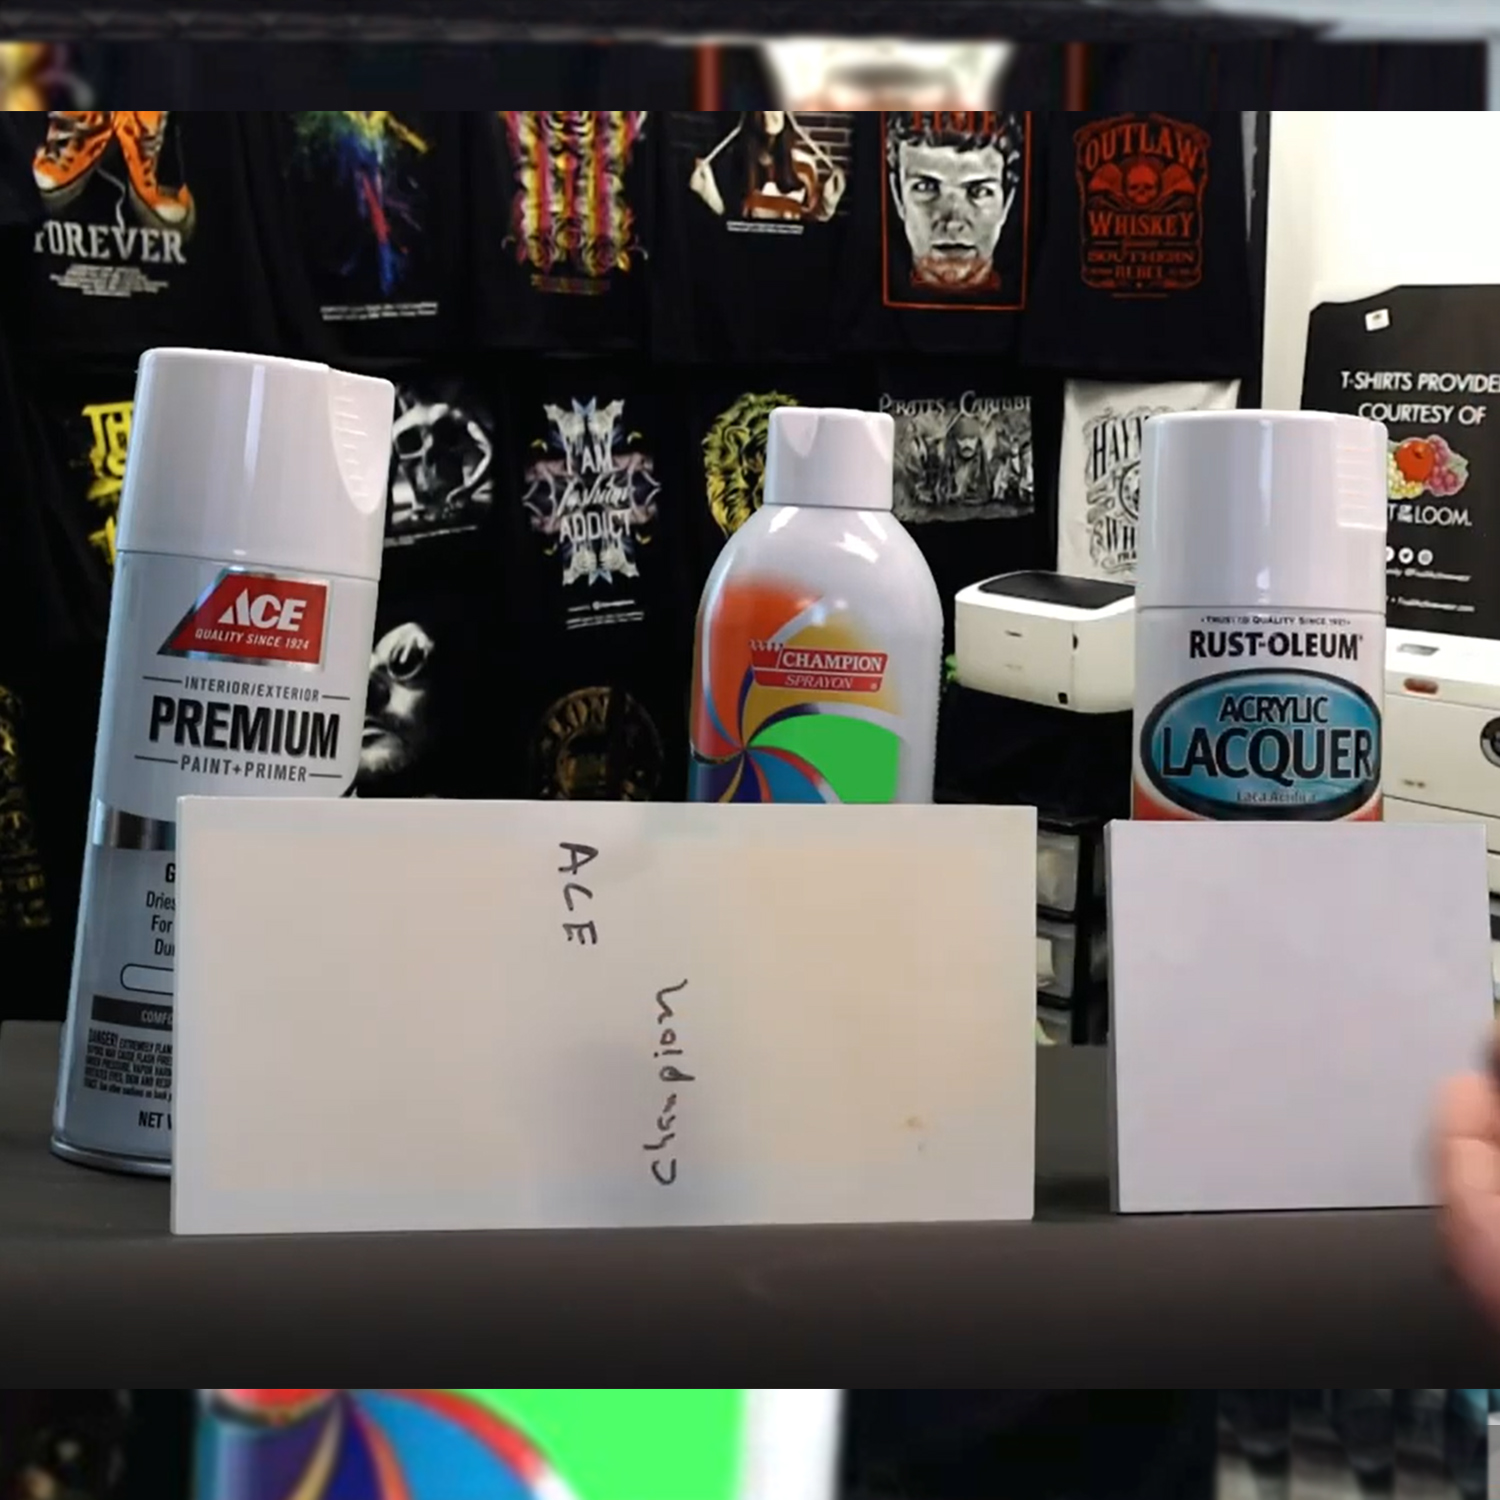
We found that by just applying a painted white background gives us the white that we need to make this show up under both dark and light situations. We tried several different products and the thing that we found is that when you apply the white paint, whichever brand that it is, in order for the best durability, we need to bake it.
This Champion model yellowed the most. The Ace premium gloss white enamel yellowed but not as much as the Champion. But we noticed that the Acrylic lacquer from Rust-oleum was the one that gave us the really the brightest glossiest white that stayed white throughout the entire process.
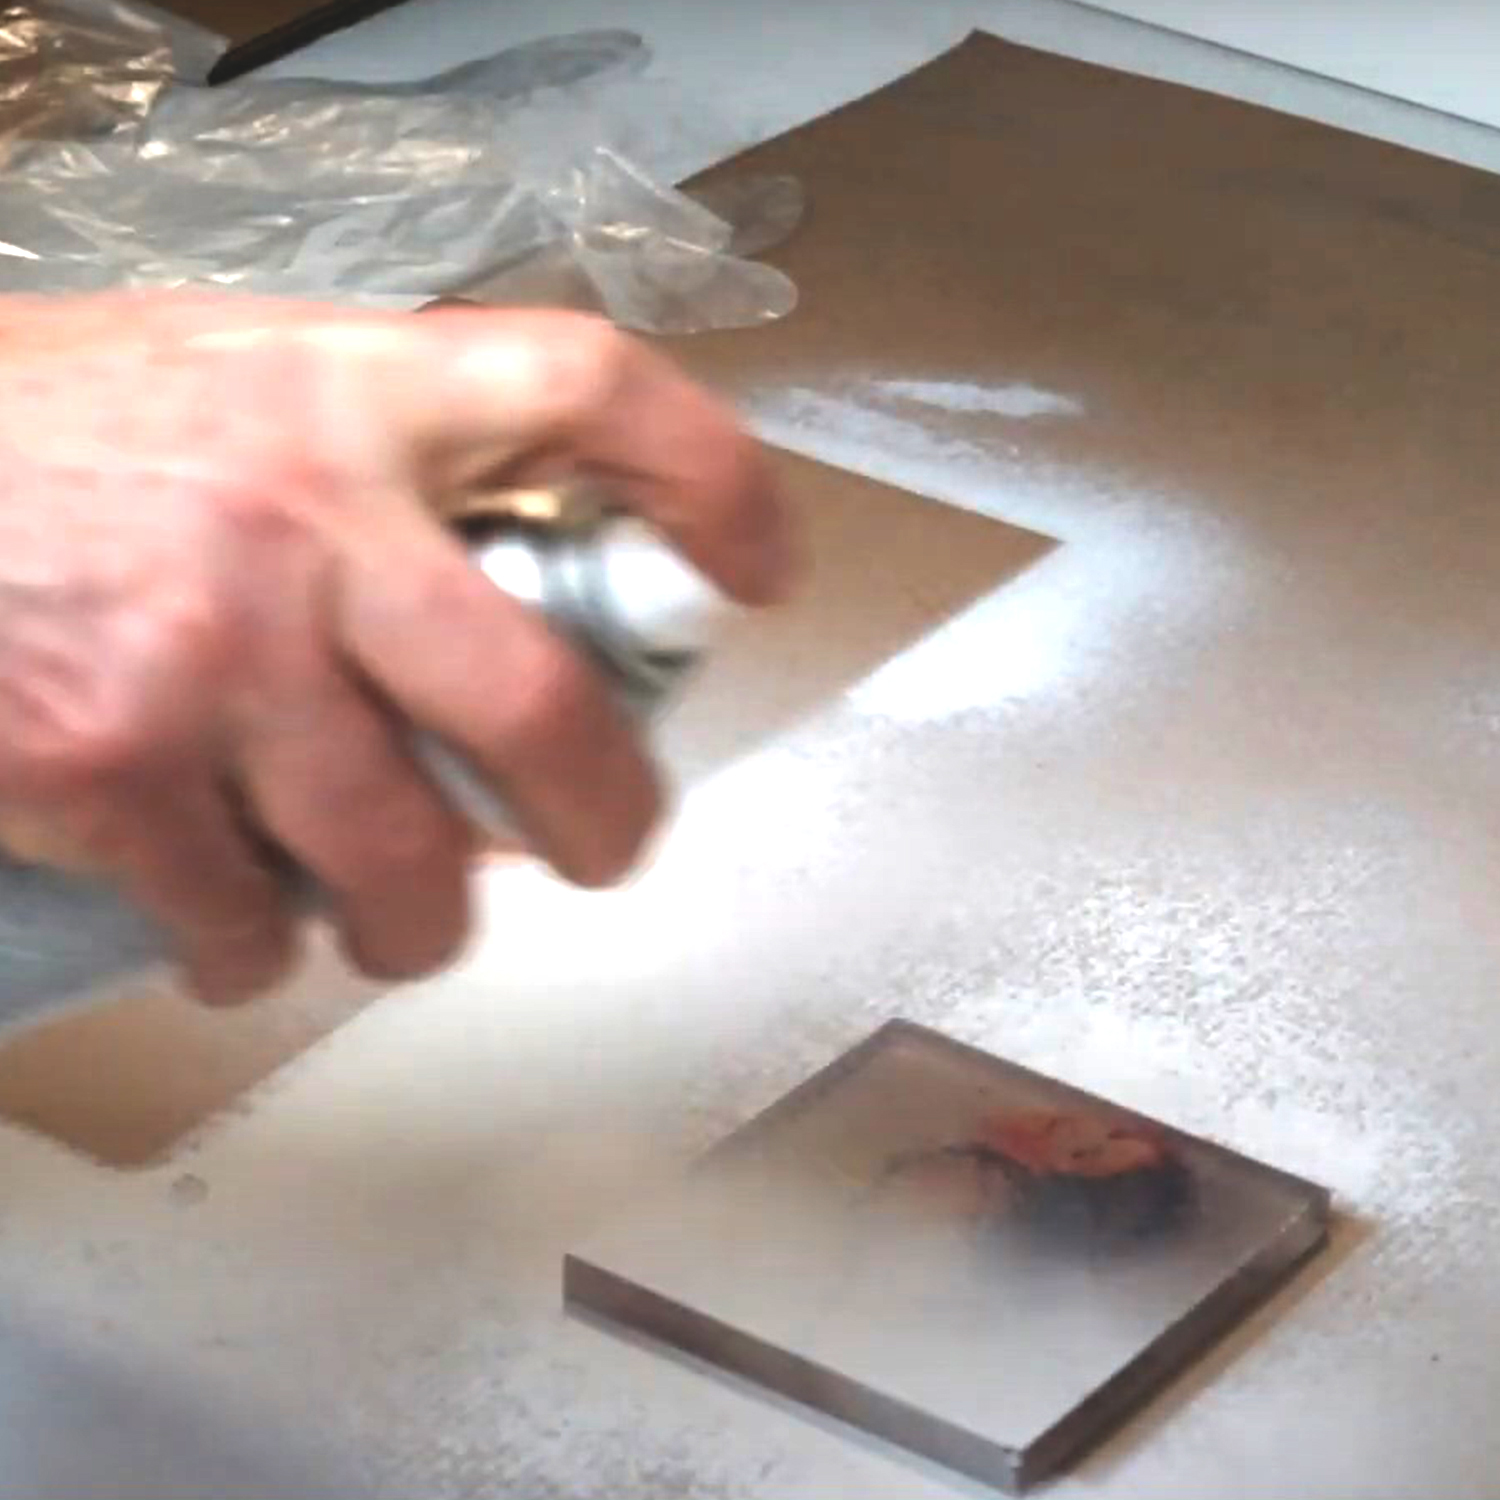
We always want to keep in mind which side has the print on it. And it’s best to do this like we’re in this warehouse area outside and then a pair of gloves for handling it. You want to shake up your paint and then just kind of put an even coating, go back and forth in a couple of different directions. Last step after we finish applying the Acrylic to the backing is that we want to bake it. You can just put it in your heat press and leave it – don’t close the heat press of course – but just leave it in the heat press for an hour or less. And here we can see white is making it show up even on a dark background.
